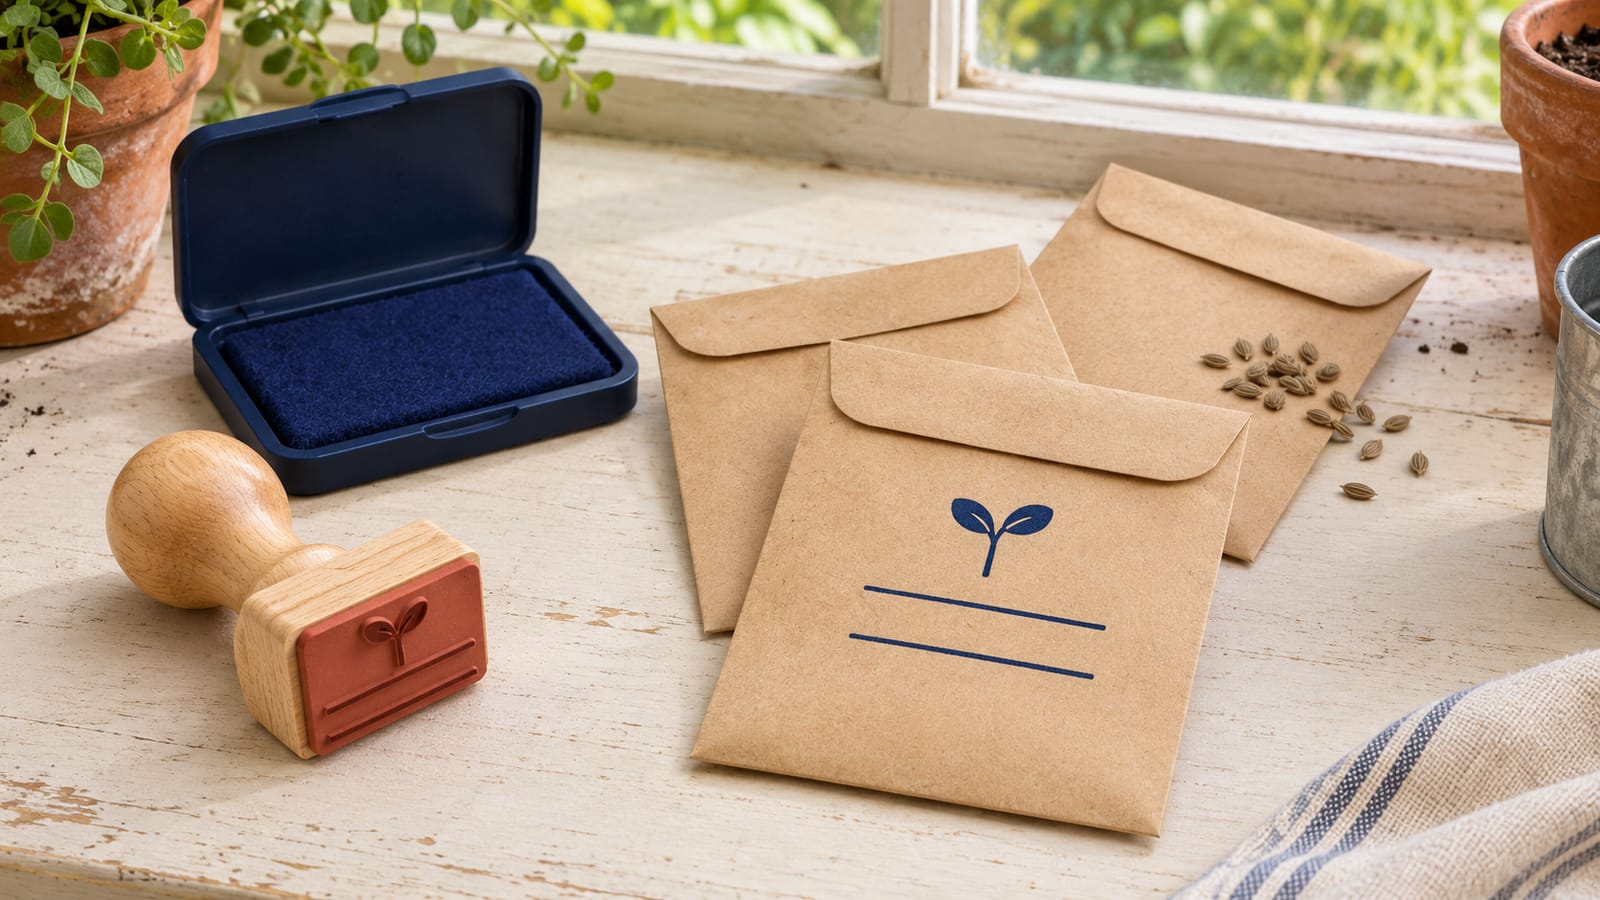
You have a stack of plain envelopes and seeds from three plants to share. Writing the plant name takes a moment. Writing the same labels on every packet gets old by the end of the first stack. A small rubber stamp can print the labels in one press and leave you room to fill in each packet by hand.
For a first design, try two fields, Variety and Packed. Put each one on its own row and leave a generous blank next to it. Use an online stamp maker to arrange the artwork, print a paper copy at the intended size, and try writing on it before you send the file to a stamp shop. The rest of this guide walks through that test with a design you can adapt to the envelopes you already have.
Picture the finished packet in someone else's hand. If it says Basil, that may be enough for your own drawer. If you have several kinds of basil to share, the name on the original packet might be more useful. Try a field labeled Variety with room for an entry such as Lemon basil or Dark Purple Opal basil. Use Plant if you usually write only the common name. Choose the word you would use when handing the envelope to a friend.
Add a second field only if you have something useful to write there. Packed can hold the year you filled the envelope. If you save your own seeds and want to record when you collected them, use Collected and write that year instead. Those dates can differ. If you divide a packet in 2026 and the collection year is unknown, Packed 2026 records the part you know.
If you want to keep both years for one batch, write the collection year on the back and label it in full. That way 2025 on its own never has to stand for two different things.
Decide whether your packet needs a third field by filling out a few examples. From may earn its place at a group swap where people want to remember who shared a variety. Source might be useful in your own drawer if you buy the same plant from several growers. If only one envelope needs a reminder such as from the tall plant by the gate, write it in a free corner. The other packets can keep their space.
Put an empty envelope on the table with the face you plan to stamp facing up. Look for the rectangle where you can both make an impression and write comfortably. A folded flap or a glued seam can leave a ridge under the paper, even when it is on the other side. Feel across the packet with a finger and mark the flatter area with a pencil on one spare envelope.
Measure the usable area on the smallest packet you plan to use. If that area is 60 mm wide, try a paper sketch that is 50 mm wide. Centering it gives you about 5 mm on each side to place the stamp. Treat that as a starting point for your envelope. You can make the mark smaller or move it higher if you want room for a separate note.
Sketch the two rows with the pen you normally use. Fill the top line with the longest variety name in your pile and put a year on the second line. Use your usual handwriting and write at the pace you expect when filling several packets. If the name runs off the end, try giving it a full row below the label. You can also shorten the label from Variety to Plant if it still makes sense for your collection.
Open the and choose a simple design that gives you a wide, flat area for text. Replace the sample wording with the labels from your paper sketch. A rectangle is a convenient starting shape because you can set the labels on the left and write the answers beside them. Use two rows with a similar gap between them so the fields are easy to follow.
Here is one way to lay out the wording. The underscores show the space reserved for handwriting.
Variety  ______________________
Packed   ________
Give the longest answer the longest line. Four digits take up little room, so the second row can leave space on the right for your own note or a tiny sprout mark. You can also leave the lines out and write in open space. For a label above the writing area, start the handwritten name directly underneath it and leave enough height before the next label for letters such as g and y.
Try a plain, medium-weight font and view the design in one dark color. A thick border uses some of the width you just set aside for handwriting. Start without a border or try one simple line if it helps you see where the label ends. The has more ways to fit permanent labels around information you add later.
Print a proof at the planned size. That can be the design on a sheet of paper or a simple outline drawn to match its width and height. If you print it, measure it with a ruler before cutting it out. A printer setting that fits artwork to a page can change the size of a small design without making the difference obvious on screen.
Cut out the proof and lay it on the smallest envelope. Check it in the spot where you will stamp. Imagine putting the stamp down several times in a row. If the design needs to sit exactly against a seam to fit, move it or allow a little more clearance. Now fill in the proof while it is on the envelope, using the same pen you will use for the batch.
Make three quick checks before you call the layout finished.
- Write a long variety name and check that the last few letters fit comfortably.
- Fill in the year and make sure the pen strokes stay clear of the label on the row above.
- Set the packet down beside other envelopes and see if you can spot the variety at a glance.
If the name feels cramped, change one thing and try again. You might move Variety above the writing area or remove a border. If you make the entire design larger, place the new proof on the envelope again. A version that is easier to fill in still needs to fit on the paper.
The online editor makes the artwork. A stamp shop makes the physical stamp. Ask the shop what file format it accepts and give it the intended width and height of the impression. An SVG is one option if the shop requests vector artwork. The shop can tell you if the labels or lines need to be thicker for its process. Send the artwork with the fields blank so the shop sees exactly what belongs on the stamp face. If you also send a filled example, label it as a reference.
When the stamp arrives, use an empty envelope from the same pack for the first impression. Place it flat, press the stamp, and lift it straight up. Check whether the letters print clearly and whether the ink smears when you fill in the fields. If an impression is patchy, move to a flatter part of the envelope and try again before changing the artwork. Test on any other paper you plan to use as well. A proof on printer paper tells you about size and spacing. An impression on the actual envelope tells you what you will get at the table.
For a batch, stamp the empty envelopes first and set them aside until the impressions are dry. Then write on and fill a few packets of one variety at a time. Put the original packet next to the stack so you can check the spelling as you go. If a long name still needs two lines, use the open space on the back and give the front enough detail to identify it. Make a wider version only if you need that extra space often.
For your own seed drawer, the two-row design may cover everything you need. Use Variety and Collected for saved seeds. Write the source on the back when it matters. If you store the packets upright, try placing the impression near the top of the face so you can see the handwritten name without lifting every packet out of the box.
For a neighborhood swap, try Variety, Packed, and From if contributors want to sign their packets. Make the name of the variety the easiest entry to read. If the envelope is too short for a third row, ask people to write their name on the back. That keeps the front easy to scan when several kinds of seeds are laid out together.
Can I put my garden name on the stamp?
Yes. If you use the same name on every envelope, add it as a small line above the fields. Try the layout at full size with a long variety name written in. If space is tight, use the garden name on the back or on a separate sticker.
Can I stamp on envelopes after filling them?
Try the stamp on empty envelopes first. The seeds inside can make the surface uneven and leave gaps in the print. If you already filled the envelopes, stamp a separate paper label on a flat surface and attach it once the ink is dry.
Can I print the design directly on paper labels?
Yes. Use the artwork as a small form, print one sheet at the intended size, and fill in the fields by hand. If you later order a rubber stamp, check its proof separately because the stamp shop may ask for different line thicknesses or margins.
Can I put the year on the stamp itself?
Yes, if you are making a stamp for a one-time event. For a stamp you want to reuse each season, leave the year blank. If you already have a dated design, keep a copy of the artwork with that number removed so you can use the same layout for your next batch.
Make one paper proof before you design a whole set. Write a long variety name on it, add the year, and place it on the smallest envelope you use. Once those two entries fit comfortably, you have a design you can use for the next batch. For more layout ideas, browse the .
